You may applied 3rd party themes on Windows XP and Windows Vista. You can do the same on Windows 7. The theme manager (implemented in uxtheme.dll, themeui.dll and themeservice.dll) is responsible for drawing non-client parts of every window displayed within Microsoft Windows 7 according to the styles defined in your active theme.
To keep the Microsoft Windows branding intact, Microsoft added digital signatures to their themes, of which are validated at theme installation and application (i.e. at boot). Due to this limitation, only a handful of themes can officially be used within Microsoft Windows.
How To:
To apply 3rd party custom themes on Windows 7, you’ll need to patch 3 system files (listed above); you can find them into System32 folder (%Windir%\System32). It may be crucial task for newbie, therefore a an excellent program to personalize your PC using 3rd party virtual styles is available, called Universal Theme Patcher.

The best thing in the program is that it detects in an automatic way “Are theme manager files already patched or not?” The program is compatible with Windows XP SP2/SP3, Windows Vista and Windows 7 and also with Windows Server 2008.
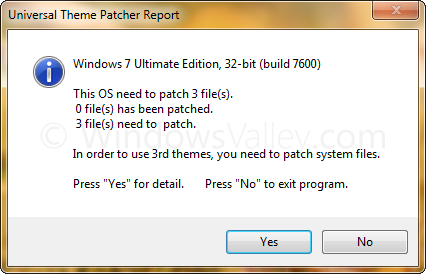
- To patch theme manger files, Run Universal Theme Patcher as Administrator, first it’ll detect that files are already patched or not.
- Click on Yes for details. On the next screen, you’ll see Patch and Restore buttons according to state of files.
- Click on all Patch buttons one by one and restart your PC to take effect.
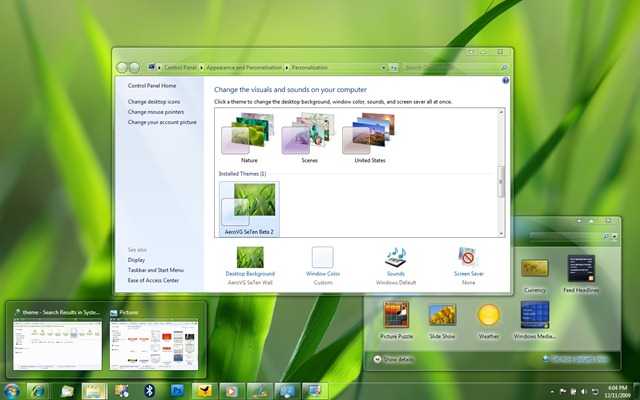
- Now copy or extract theme files to Themes folder (%Windir%\Resources\Themes) and double click on .theme file, it’ll apply the theme and add it to Personalization window under Installed Themes section.

Universal Theme Patcher is available for both x86 (32-bit) and x64 (64-bit) systems and can be downloaded from here.
[download]
[/download]
Leave a Reply